If you’ve been hunting for a tiny, squishy bunny project, this Mochi Bunny Crochet Pattern is exactly that: a quick amigurumi plush with a soft, rounded look and simple details you can finish in one sitting.
Behind the Pattern
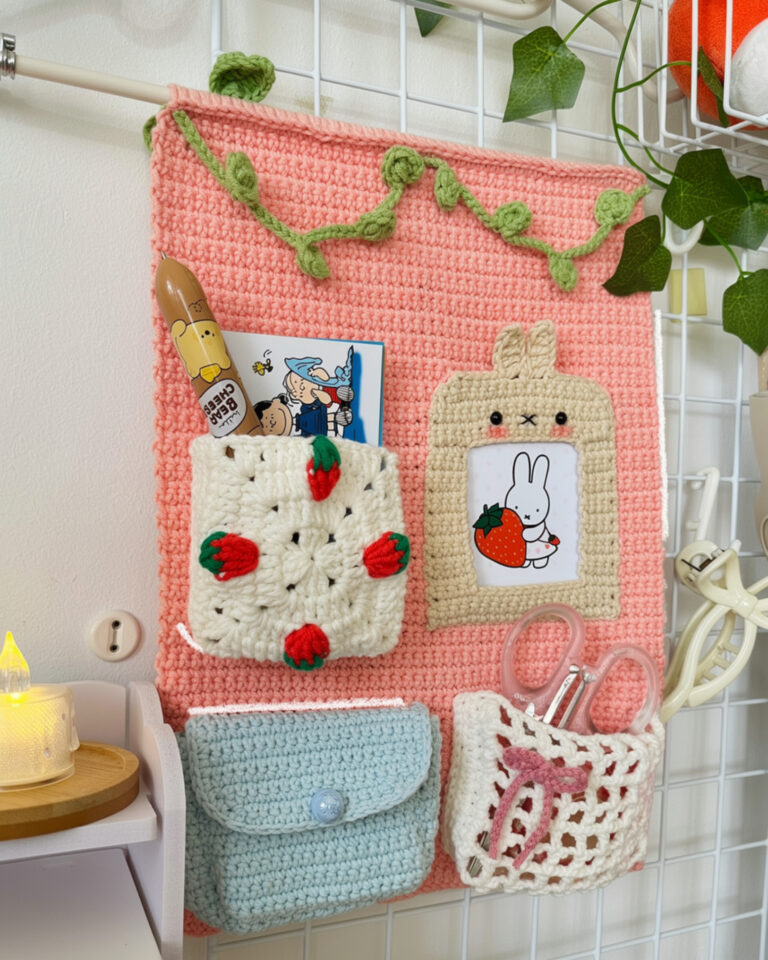
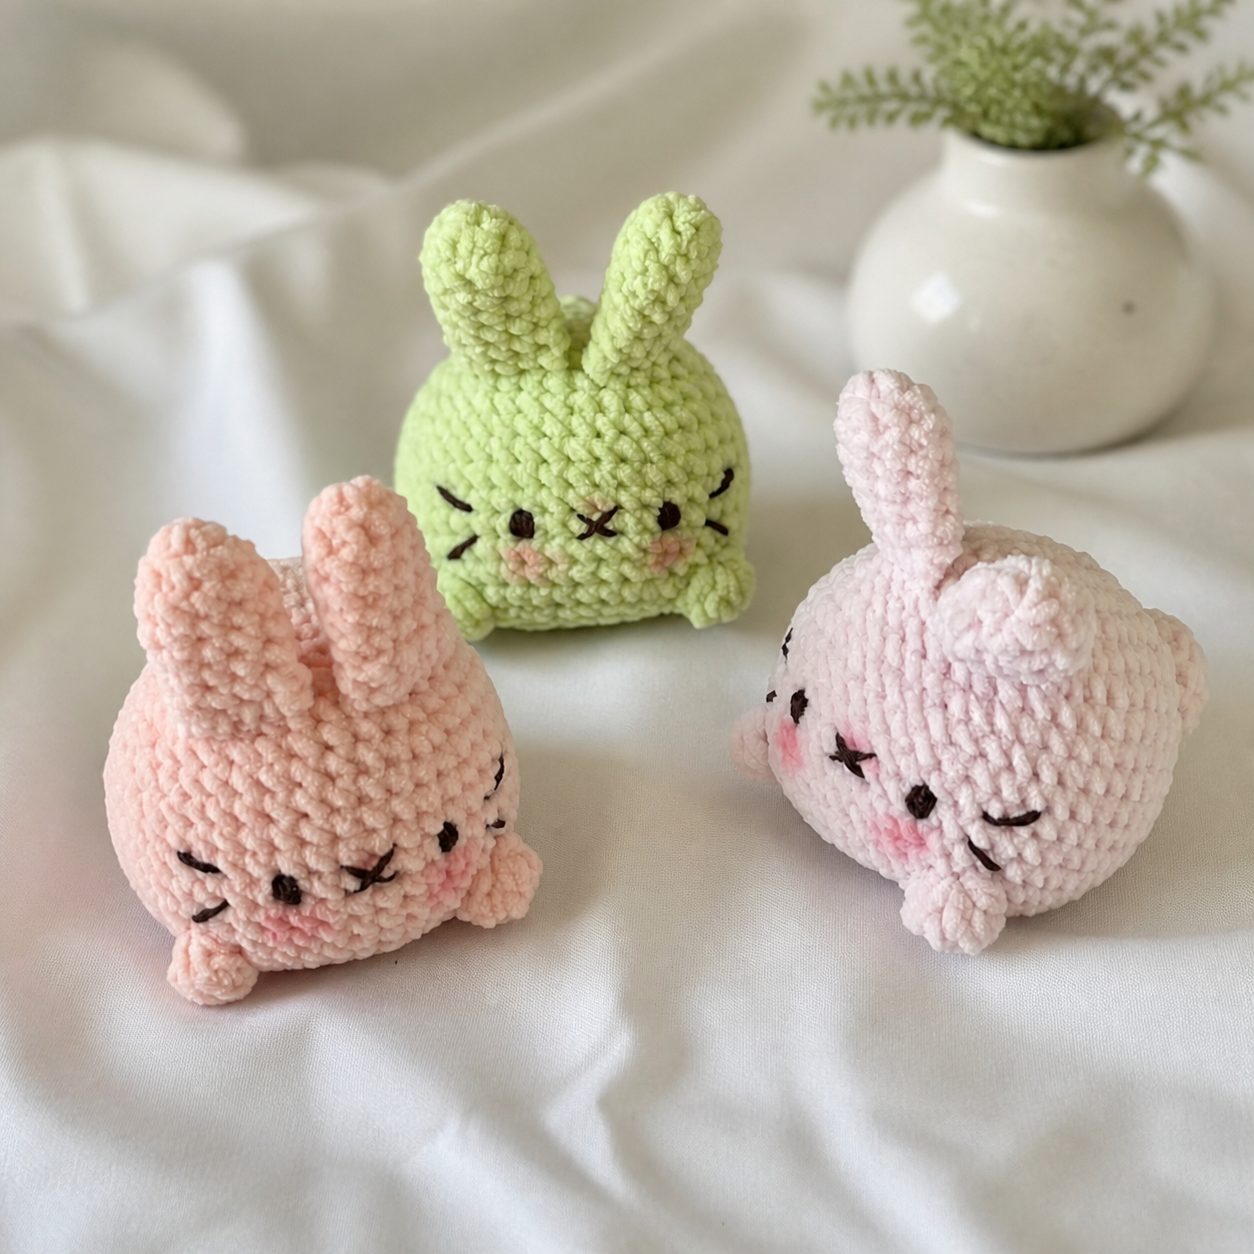
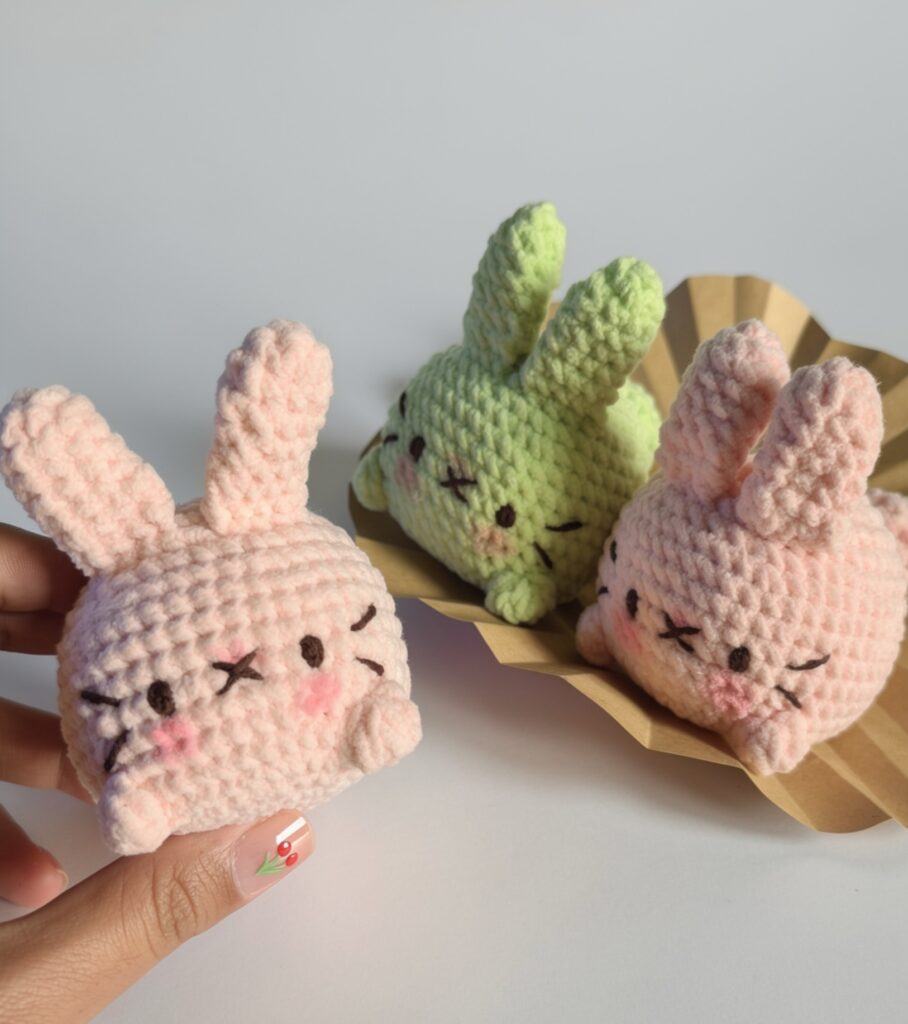
I wanted this bunny to feel like a little marshmallow you can hold in your palm, so the body is round and squat, with two upright ears that give it that classic bunny silhouette without being fussy. In the photo, you’ll see three of them made in chunky, textured yarn: one light green and two pale pink, all with the same simple, sweet face.
The features are intentionally minimal: black embroidered eyes, a tiny stitched nose and mouth, and those whisker-like lines that make it look extra polite for some reason. Add the blushy cheeks and the small stitched feet and it turns into that “just one more” kind of project. It’s Level 2 easy, so if you’ve made a bit of amigurumi before, you’ll be right at home (and if you haven’t, this is a pretty friendly place to start, by any means).
Why You’ll Love This Pattern
You get an adorable, palm-sized bunny with clean details and no complicated fuss.
- Fast little finish: The small size and simple shaping keep it moving along.
- Big texture payoff: Chunky, nubby yarn makes the bunny look extra plush right away.
- Simple face details: Embroidered eyes and lines give it personality without overthinking it.
Gather Your Supplies
You only need two colors here, and the dark brown is just for tiny face details so scraps work nicely.
- DK weight yarn (3 Light), fiber per label: For this project I reach for a DK weight yarn because it gives you small, tidy stitches without taking forever to build the pieces. Pick something that feels smooth and not too splitty so the facial details stay crisp and you are not fighting the yarn. You will need pink for the main body, ears, and tail (yardage not specified) and a small amount of dark brown for the eyes, nose, and whiskers (yardage not specified).
- 2.5 mm or 3 mm hook: Both sizes work well with DK for a firm fabric, so you can go smaller for tighter stitches or size up if your hands prefer it.
- Polyester fiberfill: You do not need a lot, but add it in small pinches and stuff as you go before the opening gets too small.
- Fabric glue: I like it for securing tiny ends and small felt-like details when sewing feels fiddly, by any means.
- Pink blusher: This is for a soft cheek tint, and a little goes a long way so start light.
- Small brush: Use a small brush so you can place the blusher exactly where you want it without turning the whole face pink.
- Also needed: darning needle, scissors
Color Sequence & Yarn Changes
Work most of the pieces in pink, then switch to dark brown just for the facial details at the end. For those tiny bits, I cut a short length and weave in carefully instead of carrying the yarn.
At a Glance
Here are the basics so you can jump in without digging around.
| Skill Level | Level 2 — Easy |
| Pattern Gauge | Gauge is not critical for this project. Use a hook size that creates a tight, firm fabric so stuffing does not show through |
| Finished Size | Approx. 4.5 in (11.5 cm) tall |
| Yarn Weight | 3 Light / DK |
| Fiber | Not specified — check the yarn label |
| Terminology | US |
Abbreviations & Stitches Used
Keep this list open while you crochet.
- ch = chain
- mr = magic ring
- sc = single crochet
- inc = increase (2 sc in same st)
- dec = decrease (sc2tog)
- dc = double crochet
- sl st = slip stitch
- sc2tog = single crochet 2 stitches together (insert hook in next st, yo, pull up a loop; insert hook in next st, yo, pull up a loop; yo, pull through all loops on hook)
- 5-dc cluster = 5 double crochet cluster (yo, insert hook in indicated st, yo, pull up a loop, yo, pull through 2 loops; repeat in same st until 5 partial dc are on hook; yo, pull through all loops on hook)
Special Stitches
- sc2tog: insert hook in next st, yo, pull up a loop; insert hook in next st, yo, pull up a loop; yo, pull through all loops on hook
- 5-dc cluster: yo, insert hook in indicated st, yo, pull up a loop, yo, pull through 2 loops; repeat in same st until 5 partial dc are on hook; yo, pull through all loops on hook
Helpful Tips
This is an easy no-sew mochi bunny amigurumi, so it’s mostly crochet and a little finishing. Work in joined rounds for the body: each round joins with a sl st to the first sc, then begins with ch 1. The sl st and ch 1 do not count toward your stitch total, so keep counting only the stitches in the round.
Leave the ears unstuffed. Flatten each ear and close by working 4 sc through both layers. For the tail, stuff firmly, then flatten and close with 3 sc through both layers.
At the end, close the opening. Use the yarn tail to pull the base snug against the body so it stands upright. Fabric glue can be used if you want.
Mochi Bunny Crochet Pattern Instructions
Work the pieces in the order below, then use the finishing section to attach and detail everything neatly.
Ears (Make 2)
MAKE 2. Leave unstuffed. Flatten ear and close with 4 sc through both layers. Fasten off after the first ear; repeat for the second. You’ll crochet both ears in rounds first, then close each one at the end.
Round 1: 6 sc in mr. [6] If you like, pull the ring snug now so you don’t have to fight the tail later.
Round 2: (1 sc, 1 inc) × 3. [9]
Round 3: 9 sc around. [9]
Rounds 3–7: repeat this round for a total of 5 rounds.
Flatten ear and close with 4 sc through both layers. Fasten off and leave a tail for securing if needed
Tail
Stuff firmly, then flatten and close with 3 sc through both layers. This piece gets attached during the body later, so keep your stitches even and don’t lose your end tail.
Round 1: 7 sc in mr. [7]
Round 2: 7 inc. [14]
Round 3: 14 sc around for 4 rounds. [14] Keep your round start easy to find. A stitch marker helps here.
Rounds 3–6: repeat this round for a total of 4 rounds.
Round 4: 7 dec. [7] Work the decreases snug so the stuffing doesn’t try to peek out.
Stuff firmly after completing this round.
Flatten and close with 3 sc through both layers. Fasten off and leave a tail for sewing
Body (With Ears and Tail Joined In)
Start with a slip knot and ch 8. Each round joins with a sl st to the first sc, then begins with ch 1. The sl st and ch 1 do not count toward your stitch total. You’ll join the ears in Round 5 and the tail in Round 9, so have those pieces ready.
Round 1: 6 sc, 4 sc in last ch, 5 sc along opposite side of chain, 3 sc in first ch, sl st, ch 1. [18] This is an oval start. Take a second to make sure you’re working into the correct loops on the underside of the chain so the edge stays clean.
Round 2: (2 sc, 1 inc) × 6, sl st, ch 1. [24]
Round 3: (3 sc, 1 inc) × 6, sl st, ch 1. [30]
Round 4: (2 sc, 1 inc, 2 sc) × 6, sl st, ch 1. [36] This shifts the increases so you don’t stack them in the same spots.
Round 5: 11 sc, work 4 sc joining first ear, 1 sc, work 4 sc joining second ear, 16 sc, sl st, ch 1. [36] When you “work 4 sc joining” an ear, hold the ear flattened and stitch through both the body stitch and the ear edge as you go. It’s easy to accidentally catch only one layer of the ear, so check your hook placement for each of those 4 stitches.
Round 6: (8 sc, 1 inc) × 4, sl st, ch 1. [40]
Round 7: (9 sc, 1 inc) × 4, sl st, ch 1. [44]
Round 8: 44 sc around for 3 rounds, sl st, ch 1. [44] Keep the same join each round so your seam line stays consistent.
Rounds 8–10: repeat this round for a total of 3 rounds.
Round 9: 38 sc, work 3 sc joining tail, 3 sc, sl st, ch 1. [44] For the tail join, line up the flattened, closed edge of the tail and stitch through both layers of the tail and the body stitches for those 3 sc. If it feels fiddly, slow down and make sure you’re not twisting the tail as you attach it.
Round 10: 44 sc, sl st, ch 1. [44]
Round 11: (9 sc, 1 dec) × 4, sl st, ch 1. [40] Try to keep your decreases consistent in style across the whole piece so the tension matches.
Round 12: 10 sc, 5-dc cluster, 11 sc, 5-dc cluster, 17 sc, sl st, ch 1. [40] Clusters can tighten the fabric. If your hook wants to snag, give yourself a touch more working yarn between stitches.
Round 13: (3 sc, 1 dec) × 8, sl st, ch 1. Begin stuffing. [32] Start stuffing now while the opening is still comfortable to reach into.
Begin stuffing after completing this round.
Round 14: (2 sc, 1 dec) × 8, sl st, ch 1. [24] Add more stuffing as you go. Don’t wait until the last round or you’ll struggle to fill the edges evenly.
Round 15: (1 sc, 1 dec) × 8, sl st, ch 1. [16]
Round 16: 8 dec. [8] If your last few decreases feel tight, that’s normal. Just keep your tension steady so you can still get the hook through.
Close the opening. Fasten off and weave in ends
Face Details
This part is all handwork, so take a minute to thread your needle and decide on placement before you commit. Embroider the face using dark brown yarn split into 3 strands for each eye, and 2 strands for the nose and whiskers. Position eyes two rounds above the leg area, leaving 6 stitches between them. Add blush to the cheeks. I like to pin a strand in place first, then stitch over it once I’m sure.
Fasten off, weave in ends
Putting It All Together
Most of the assembly is built into the body rounds, so you’re mainly checking that those joins are secure and then finishing the last bits cleanly. Round 5 of body: work 4 sc joining first ear, then later work 4 sc joining second ear. Make sure each ear was flattened before joining, and confirm you stitched through both layers of the ear on all 4 joining stitches. Round 11 of body: work 3 sc joining tail. The tail should be stuffed firmly before that join, then flattened and closed with 3 sc through both layers so you have a stable edge to crochet through. Ears: Flatten each ear and close by working 4 sc through both layers. Tail: Stuff firmly, then flatten and close with 3 sc through both layers. Close the body opening; use the yarn tail to pull the base snug against the body so it stands upright; fabric glue may be used. Embroider face with dark brown yarn; place eyes two rounds above the leg area with 6 stitches between them; add blush.
Baby & Child Safety Notes
If this toy is for a baby or young child, embroider all details instead of using safety eyes, and knot and weave in ends extra securely. Pull firmly on the ears and tail after finishing to confirm the joins don’t shift. If you use fabric glue, let it cure fully before the toy is handled.
Frequently Asked Questions
Mine comes out about 4.5 in (11.5 cm) tall. If you crochet tighter or looser, or swap between a 2.5 mm and 3 mm hook, you can end up a little shorter or taller.
I grab the 2.5 mm hook when I want a firmer fabric and a slightly smaller bunny. I use the 3 mm hook when my hands want a break and I do not mind the bunny finishing a bit bigger.
DK (3 Light) is what I stick with for the size listed. If you change yarn weight, the bunny will change size, so do a quick check early on and decide if you like the scale before you commit.
I rate it Level 2, Easy. If you can keep track of your rounds and you do not mind slowing down to count, you will be fine, so there is that.
Check your hook size first, since 2.5 mm vs 3 mm makes a noticeable difference on a small amigurumi. Then look at your tension: if you are loose, size drops fast when you tighten up, and if you are tight, going up to 3 mm usually gets you back on track.
Now It’s Your Turn!
If you make the Mochi Bunny, I want to see it. Save this pattern to Pinterest so you can find it again when you get the urge to crochet something small, then come back and tell me what hook you used and how tall your bunny ended up, because the 2.5 mm vs 3 mm choice can swing it more than you’d think. If you share photos online, tag me so I can cheer over your little bunny in ALL CAPS.