
If you’re looking for a small, bold flower motif you can use on all kinds of accessories, this Poppy Crochet Pattern gives you a full, layered poppy with a textured center and that classic bright red bloom. It also fits right into spring makes and remembrance-style projects without getting fussy about it.
Behind the Pattern
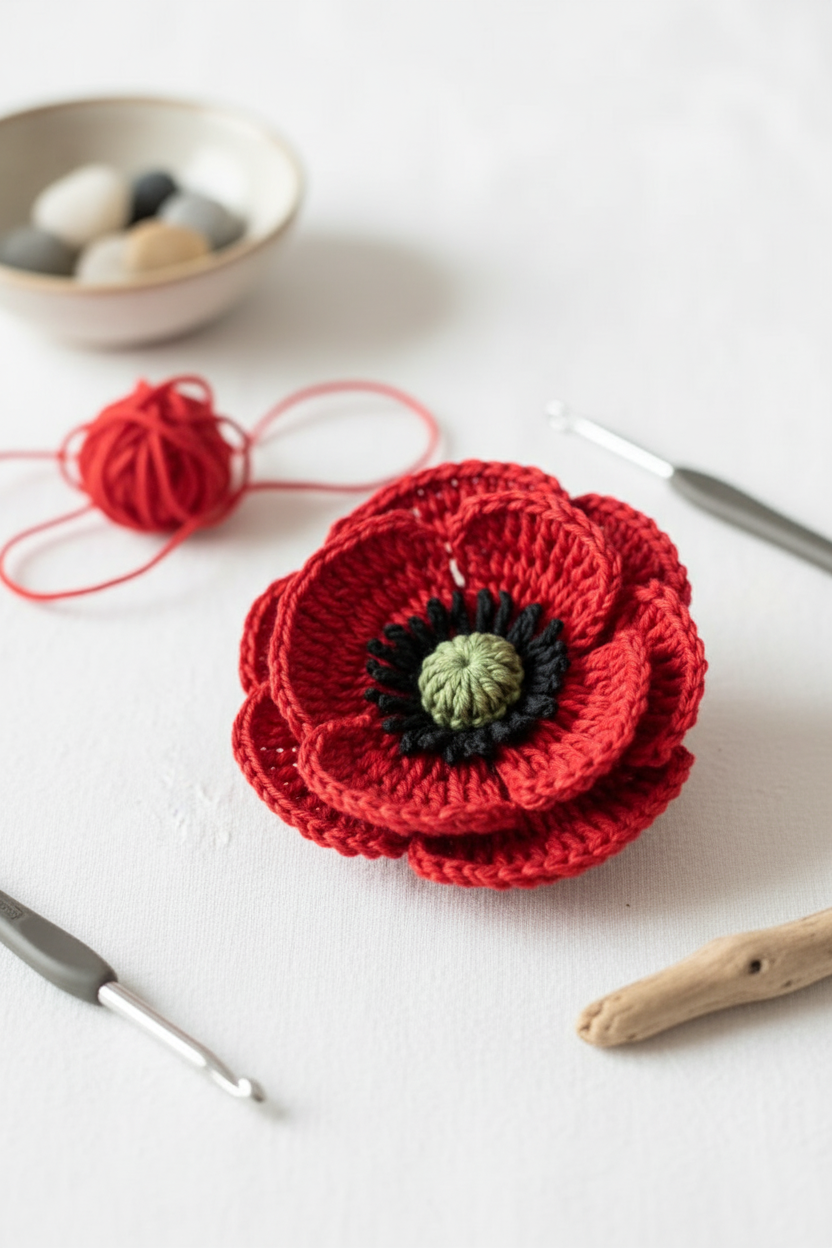
I wanted this poppy to look like an actual poppy, not just a flat flower circle, so I went for rounded petals that stack up into a fuller bloom. The petals are a strong red and they overlap around the middle, so you get that layered look right away.
The center is my favorite part: a pale green, knot-like bump, with a ring of short black stitches around it for that little hit of contrast. It’s got a slightly raised, clearly stitched texture that reads as “flower” even from a distance, but it’s still a Level 2 easy project, so you’re not signing up for anything intense (just a fun one, really).
What Makes This Pattern Special
You get a realistic layered poppy that stays small and neat.
- Layered petals: The overlapping rounds give you a full bloom without extra bulk.
- Textured center: The green bump and black ring add definition fast, so it reads clearly.
- Accessory-friendly size: It’s compact enough to add to hats, bags, pins, and headbands.
Your Supply List
You’ll use tiny bits of worsted yarn in red and black for each poppy, so it’s very much a scrap-friendly project.
- 4 Medium / Worsted yarn (fiber not specified, check the yarn label): For this project I reach for a smooth worsted that holds a clean stitch edge, since the petals look best with a little structure. You want something that isn’t too fuzzy, so the center stays crisp and the petal shaping doesn’t get lost. Plan on about 3–4 m of red per poppy for the petals and outer rounds, plus less than 1 m of black per poppy for the center.
- 3.5 mm crochet hook: This size gives you a firm fabric with worsted yarn, so the poppy sits flat and the stitches look tidy.
- Also needed: yarn needle for weaving ends
Color Sequence & Yarn Changes
Start with black for the center, then switch to red for the petals and outer rounds for Versions 1–5 (Rounds 2+ as specified). I like to leave a slightly longer tail at each change since you do not need much yarn anyway, so there’s that.
Essential Info
Here’s the quick card so you can get moving without hunting for details.
| Skill Level | Level 2 — Easy |
| Pattern Gauge | Gauge is not critical for this project. Use a hook size that creates a firm fabric and adjust hook size up/down to change the finished poppy size as desired. |
| Finished Size | Approx. 2.5–3.5 in (6–9 cm) diameter per poppy depending on version and yarn/hook choice |
| Yarn Weight | 4 Medium / Worsted |
| Fiber | Not specified — check the yarn label |
| Terminology | US |
Stitch Guide & Abbreviations
Keep this list nearby while you crochet.
- ch = chain
- sc = single crochet
- hdc = half double crochet
- dc = double crochet
- tr = treble crochet
- sl st = slip stitch
- Rnd = round
- MR = magic ring (magic circle)
- spike sl st = insert hook into indicated stitch below (as specified), yo, pull up loop through stitch and through loop on hook
- sk = skip
- st = stitch
- yo = yarn over
Special Stitches
- spike sl st: Insert hook into indicated stitch below (as specified), yo, pull up loop through stitch and through loop on hook.
Read Before Starting
This pattern includes five distinct versions, all utilizing a common center. You’ll make the black center first, then build the petals from there, working in rounds and joining as directed in the instructions. These poppies were originally designed for an art installation rather than for wearing, so the fabric is meant to be firm and hold its shape. To adjust the size, use a hook one size smaller than the yarn label suggests, or shift hook size up or down to change the finished poppy size as desired. For chunky or bulky yarns, use hdc instead of sc for the black center. Work through both loops unless otherwise noted. Leave tails if you intend to use them for an installation.
Poppy Crochet Pattern Instructions
Pick the version you want to make, then follow the rounds in order.
Universal Black Center (use with Versions 1, 2, 4, and 5)
This is the shared starting center for several options below. Work it first, then you’ll join your petal color into the edge stitches you create here.
Round 1: With black yarn, ch 1, work 7 sc into MR. [7] Keep the ring loose until you’ve made all 7 sc, then you can cinch it without fighting your hook.
Cut yarn and sew the last loop into the first to join, creating an 8th edge stitch. Pull tail tight to cinch the center.
Version 1 (3 Rounds)
Uses the universal black center. You’ll join your next color into the center edge stitches, then work one more round to form the outer shaping.
Round 2: Sl st into the center (opposite from the black tails), ch 1, sc in same st, 2 sc in each remaining st. Join with sl st. [16] Joining opposite the tails helps keep the tails together on one side for weaving in later.
Round 3: (Sk 1 st, 6 dc in next st, sk 1 st, sl st in next st) repeat 3 more times. [—] When you hit the slip stitch, give it a snug pull so the repeat sections stay clearly separated.
Fasten off, weave in ends
Version 2 (4 Rounds)
Uses the universal black center. Round 2 is the same as Version 1. After that, you’ll add one more increase round, then a round that includes spike slip stitches worked down into the black center.
Round 2: Same as Version 1. [16] Use the same join point note as Version 1 if you want your tails to stay organized.
Round 3: Ch 1, (2 sc in next st, 1 sc in next st) repeat to end. [24] This is a steady increase rhythm. If your stitch marker tends to wander, mark the first stitch after the ch 1.
Round 4: Ch 1, (2 sc, 1 sc, 2 sc, 1 sc, 2 sc, 1 spike sl st 2 rounds below into the black center, sk next st) repeat 4 times total. [—] For the spike sl st, insert your hook down into the black center stitch two rounds below, pull up a loop to the height of the current round, then complete the slip stitch. Try not to yank it tight or it can pucker the fabric.
Fasten off, weave in ends
Version 3 (3 Rounds, HDC Style)
This version starts directly with hdc into the magic ring, so it doesn’t use the universal black center. Keep your join consistent each round so the repeats line up cleanly.
Round 1: Work 7 hdc into MR. [7] If you’re used to chaining 1 to start, resist the urge here. Just begin placing hdc into the ring as written.
Round 2: Ch 2, hdc in same st, 2 hdc in each remaining st. Join. [16] The ch 2 counts as your turning chain for height, so keep it relaxed so the join doesn’t feel tight.
Round 3: (2 hdc in each of next 3 sts, sl st in next st) repeat 3 more times. [—] Watch that you’re placing increases into the next three stitches each time, then using the slip stitch as the separator before the next repeat.
Fasten off, weave in ends
Version 4 (2 Rounds, Quick Treble)
Uses the universal black center (Round 1). This is the fast option: you’ll build each petal with trebles and chains, then move to the next petal repeat.
Round 2: Sl st in any edge st, ch 3, 2 tr in same st, 2 tr in next st, ch 3, sl st in same st (forms one petal). Repeat (ch 4, 2 tr in same st, 2 tr in next st, ch 3, sl st in same st) 3 more times for 4 petals total. [—] The first petal starts with ch 3, then the repeats begin with ch 4. Don’t “fix” that. It’s written that way on purpose, so there’s that.
Fasten off, weave in ends
Version 5 (2 Rounds, Full Petal)
Uses the universal black center (Round 1). Round 2 is similar to Version 4 but with fuller petals. You’ll follow the same idea as the quick treble version, just packing more trebles into each petal section.
Round 2: Similar to Version 4, but work 3 tr in the same stitch and 3 tr in the next stitch for a fuller look. [—] Keep your chain spaces consistent from petal to petal. If your trebles want to twist, pause and let the stitches settle on the hook before you yarn over for the next tr.
Fasten off, weave in ends
Putting It All Together
Cut yarn and sew the last loop into the first to join, creating an 8th edge stitch. That little sewn join matters because it gives you one more place to work into later, and it keeps the center from having a gap where the seam would be. Pull tail tight to cinch the center. Do it before you weave anything in, and pull in a couple of directions so the ring closes evenly. Weave in ends with a yarn needle. Run the tails through several stitches on the back, change direction once, then trim. Leave tails if you intend to use them for an installation. Longer tails are easier to stitch down or tie onto whatever you’re attaching the poppy to.
Frequently Asked Questions
Mine land around 2.5–3.5 in (6–9 cm) across. The exact size depends on which version you make and how your yarn and 3.5 mm hook combo behaves, so there’s that.
Use worsted if you want the size range I mention. If you go thinner or thicker, the poppy will shrink or grow, and you might need to adjust your hook to keep the fabric looking the way you like.
I use a 3.5 mm hook for this pattern because I like the look it gives with worsted yarn. Swap hooks if you want a looser or firmer fabric, just know your finished diameter will shift.
It sits at Level 2, Easy. If you can keep track of rounds and you don’t mind counting a little, you’re fine.
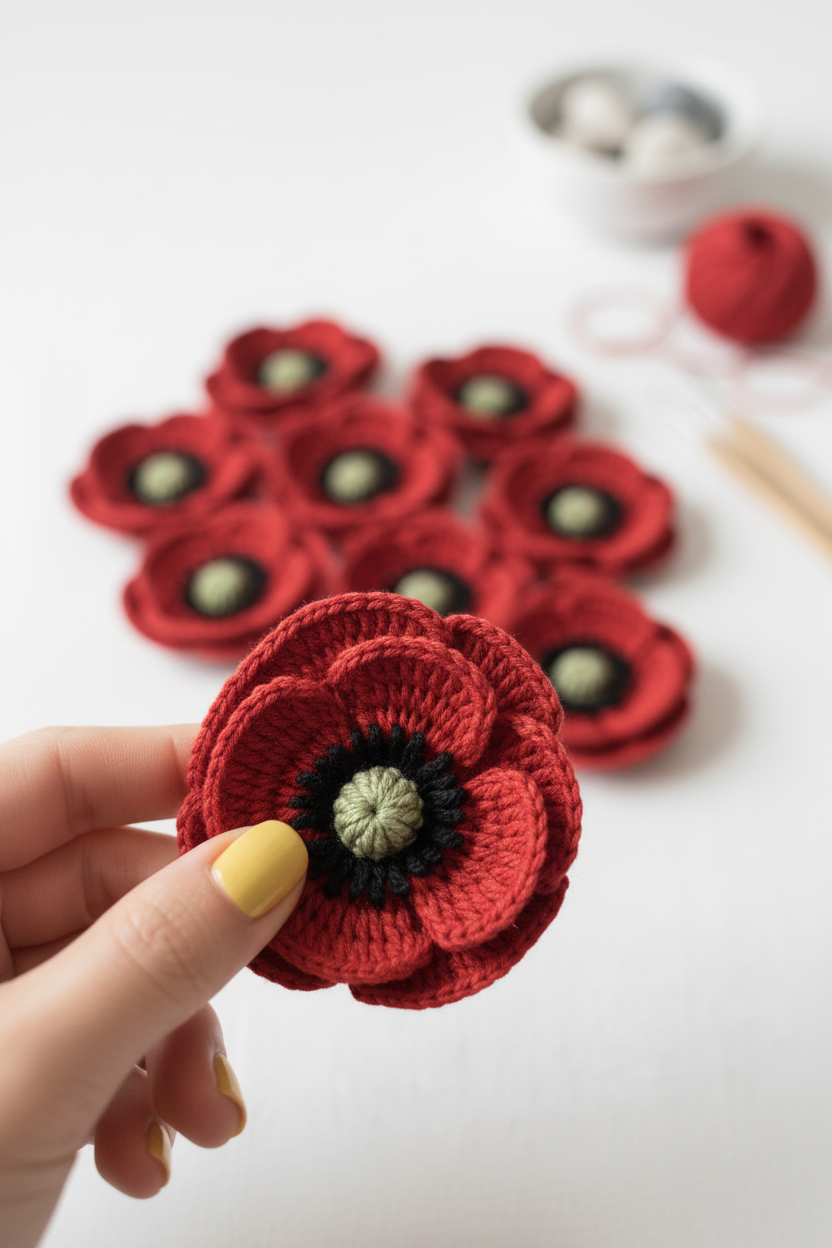
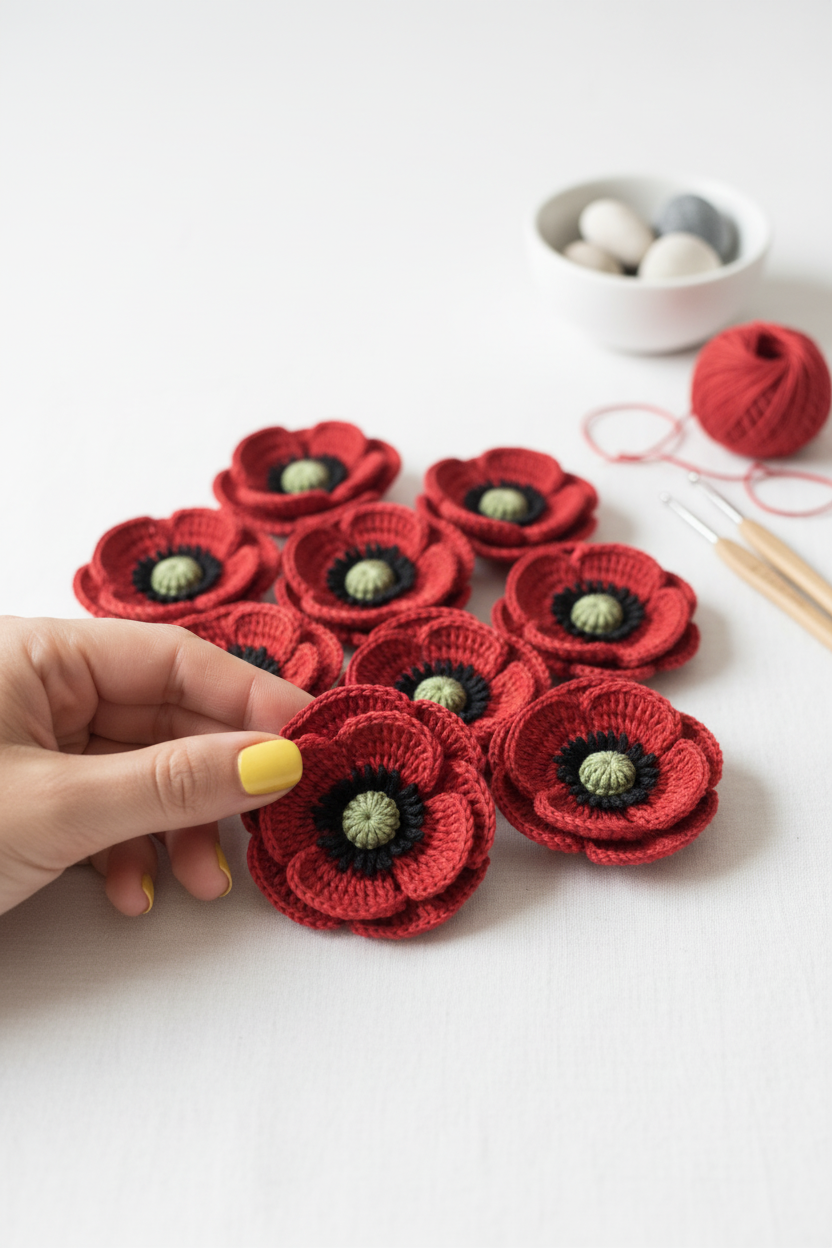
It depends on your skein size and how many versions you make, but poppies are small so you can usually make a bunch. I treat it like a stash-buster project and use leftovers, by any means.
Now It’s Your Turn!
If you make the Poppy Crochet Pattern, I want to see it. Save this pattern to Pinterest so you can find it again when you need a quick accessory, then come back and tell me what size yours ended up and what yarn you used. I always think I’m making ‘just one’ and then I have a small pile on my table, so yeah.