

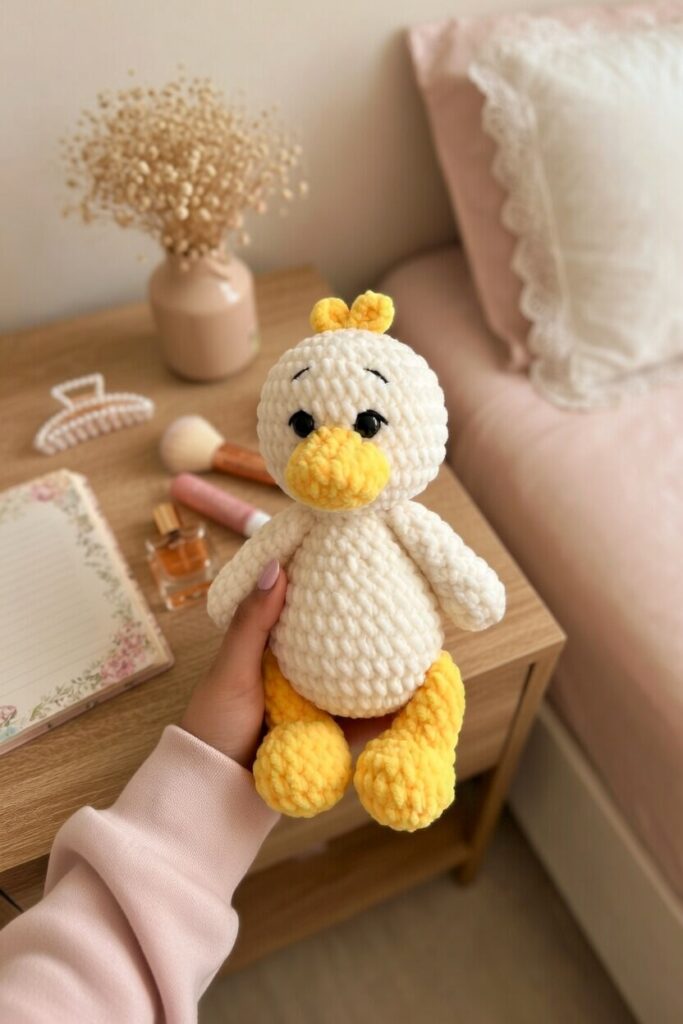
If you’ve been looking for your next crochet project that’s equal parts fun and adorable, meet this chubby little plush duckling. With her oversized beak, rosy feet, and fluffy topknot, she’s impossible not to love. This pattern is worked entirely in the round using soft chenille yarn and a 4 mm hook, making it approachable for intermediate beginners and satisfying for seasoned makers alike.
What You’ll Need
- Plush/chenille yarn — approx. 0.5 skein in Main Color (MC); grey/blue tones work beautifully, plus a small amount of Contrast Color (CC) such as pink or yellow for the feet and beak
- YarnArt Jeans yarn — black for face embroidery; white for thread-joint attachment of legs and wings
- 4 mm crochet hook
- Black safety eyes, 7–8 mm
- Polyfill stuffing
- Locking stitch markers
- Tapestry needle + strong sewing thread
- Scissors and a lighter (optional, for singeing plush yarn ends)
- A stitch marker to track your rounds
Stitch Guide (US Terms)
All pieces are worked in continuous spiral rounds unless stated otherwise.
| Short Form | Full Name |
|---|---|
| mr | Magic Ring |
| ch | Chain |
| sc | Single Crochet |
| inc | Increase — 2 sc in the same stitch |
| dec | Invisible Decrease |
| () ×n | Repeat instructions in brackets n times |
| () | Total stitch count at end of round |
Pattern Instructions
Wings — Make 2 (MC)
- Rnd 1: 6 sc in mr. (6)
- Rnds 2–3: Sc in each st around. (6)
- Rnd 4: (1 sc, inc) ×3. (9)
- Rnd 5: (2 sc, inc) ×3. (12)
- Rnd 6: (1 sc, inc) ×6. (18)
- Rnd 7: (1 sc, dec) ×6. (12)
- Rnd 8: (2 sc, dec) ×3. (9)
- Rnd 9: (1 sc, dec) ×3. (6)
Fasten off. Pull closing yarn tail through remaining 6 sts and cinch shut. Weave end into wing interior.
Feet — Make 2 (CC)
- Rnd 1: Ch 7.
- Rnd 2: Starting in 2nd ch from hook: inc, 4 sc, 3 sc in last ch; working back along opposite side of foundation ch: 5 sc. (14)
- Rnd 3: 2 inc, 4 sc, 3 inc, 4 sc, 1 inc. (20)
- Rnd 4: 8 sc, (1 sc, inc) ×3, 6 sc. (23)
- Rnd 5: 23 sc. (23)
- Rnd 6: 7 sc, 5 dec, 6 sc. (18)
- Rnd 7: 7 sc, 3 dec, 5 sc. (15)
- Rnd 8: (3 sc, dec) ×3. (12)
- Rnds 9–10: 12 sc. (12)
- Rnd 11: (dec, 4 sc) ×2. (10)
- Rnd 12: 10 sc. (10)
- Rnd 13: 5 dec. (5)
Fasten off. Pull closing tail through remaining 5 sts and cinch shut. Weave end into leg interior.
Beak (CC)
- Rnd 1: Ch 5.
- Rnd 2: Starting in 2nd ch from hook: inc, 2 sc, 3 sc in last ch; working back along opposite side: 5 sc. (10)
- Rnd 3: 10 sc. (10)
- Rnd 4: (inc, 4 sc) ×2. (12)
- Rnd 5: 1 sc, inc, 5 sc, inc, 4 sc. (14)
- Rnd 6: 14 sc. (14)
Fasten off and weave in end. Do not stuff.
Body + Head (worked as one continuous piece — MC)
The body and head are crocheted together in a single seamless unit. Start at the base and work upward.
Body Section:
- Rnd 1: 6 sc in mr. (6)
- Rnd 2: Inc in each st. (12)
- Rnd 3: (1 sc, inc) ×6. (18)
- Rnd 4: 1 sc, (2 sc, inc) ×5, 1 sc. (24)
- Rnd 5: (3 sc, inc) ×6. (30)
- Rnd 6: 2 sc, inc, (4 sc, inc) ×5, 2 sc. (36)
- Rnds 7–9: Sc in each st around. [3 rounds] (36)
- Rnd 10: 9 sc, (1 sc, dec) ×6, 9 sc. (30)
- Rnd 11: 30 sc. (30)
- Rnd 12: 9 sc, 6 dec, 9 sc. (24)
- Rnd 13: 24 sc. (24)
- Rnd 14: (2 sc, dec) ×6. (18)
- Rnd 15: (1 sc, dec) ×6. (12)
💡 Tip: Begin stuffing the body firmly at this point, before moving into the head section. It becomes much harder to stuff properly once the head rounds are underway.
Head Section (continues from body — no break in yarn):
- Rnd 16: Inc in each st. (24) ← Head begins here
- Rnd 17: (3 sc, inc) ×6. (30)
- Rnd 18: 2 sc, inc, (4 sc, inc) ×5, 2 sc. (36)
- Rnds 19–24: Sc in each st around. [6 rounds] (36)
👁️ Eye Placement: Insert safety eyes between Rnds 21 and 22, spacing 3 sc apart from the eye post on each side (measuring from center). Secure backings firmly. Optionally singe the posts lightly with a lighter to lock in place.
- Rnd 25: 2 sc, dec, (4 sc, dec) ×5, 2 sc. (30)
- Rnd 26: (3 sc, dec) ×6. (24)
- Rnd 27: 1 sc, dec, (2 sc, dec) ×5, 1 sc. (18)
- Rnd 28: (1 sc, dec) ×6. (12)
- Rnd 29: 6 dec. (6)
Stuff the head firmly before closing. Pull closing tail through remaining 6 sts and cinch shut. Weave end securely into the body interior.
Assembly & Finishing
Take your time with this stage — careful assembly gives the duckling her personality and polish.
Step 1 — Attach the Wings
Using the thread-joint method (tapestry needle threaded with strong white thread):
- Position each wing at Rnds 2–3 down from the head
- Pass thread through Rnd 3 of the wing to allow a natural swinging movement
Step 2 — Attach the Feet
Using the same thread-joint method:
- Position feet on the underside of the body at Rnds 6–7 from the bottom
- Pass thread through Rnds 2–3 of each foot
Step 3 — Sew the Beak & Embroider the Face
- Center the beak on the front of the head and sew securely with a tapestry needle and matching yarn
- Using black Jeans yarn, embroider small arched brows above the safety eyes for expressiveness
- Optionally singe any loose plush yarn ends for a tidy finish
Step 4 — Create the Topknot Crest
The little tuft on top of the head is one of her most charming features:
- Thread a length of CC yarn onto your tapestry needle
- Pull small loops of yarn up through the stitches at the crown of the head
- Knot each loop securely at the base
- Trim all loops to an even, fluffy length to form a soft rounded topknot

Frequently Asked Questions
What yarn weight is best?
Plush or chenille yarn in a bulky-adjacent weight pairs perfectly with a 4 mm hook, producing that signature soft, huggable texture.
What is the thread-joint method?
It’s a technique where you use a long needle and strong thread to pass through both body and limb, securing them in a way that allows slight natural movement — far cleaner than sewing directly with yarn.
When should I insert the safety eyes?
During the head section, between Rnds 21 and 22, before the decreases begin and while you still have easy access to the inside.
Is this pattern beginner-friendly?
It’s ideal for anyone comfortable with crocheting in the round and basic increases/decreases. The one-piece body+head construction is actually simpler than sewing separate pieces together.
This plush duckling makes a wonderful handmade gift, a nursery shelf decoration, or a cheerful addition to any toy collection. Grab your hook, pick your favorite chenille colorway, and enjoy every round!