
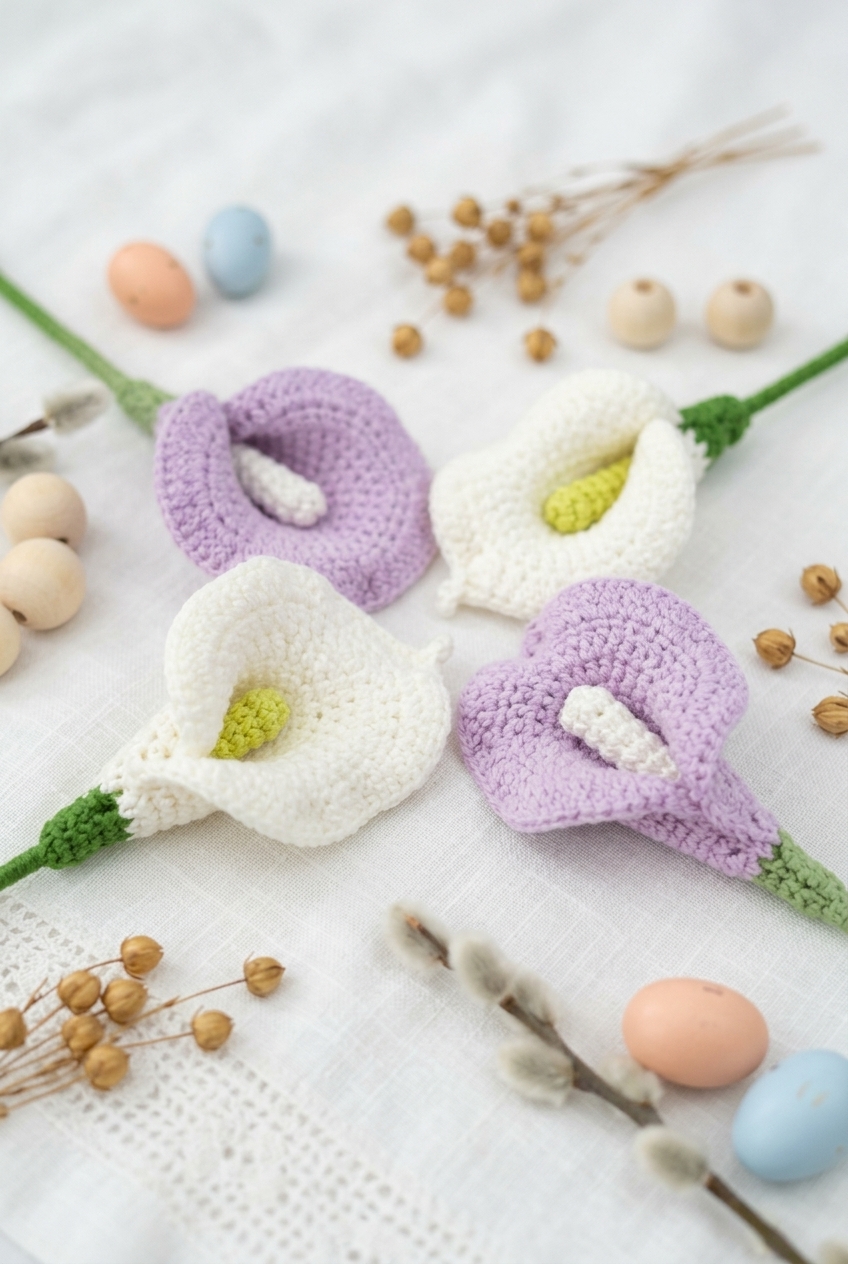
If you’ve been hunting for a realistic flower project that still feels doable, this Calla Lily Crochet Pattern gives you a single elegant bloom with a neat wrapped stem, ready to pop into a vase or gift as-is.
Behind the Pattern
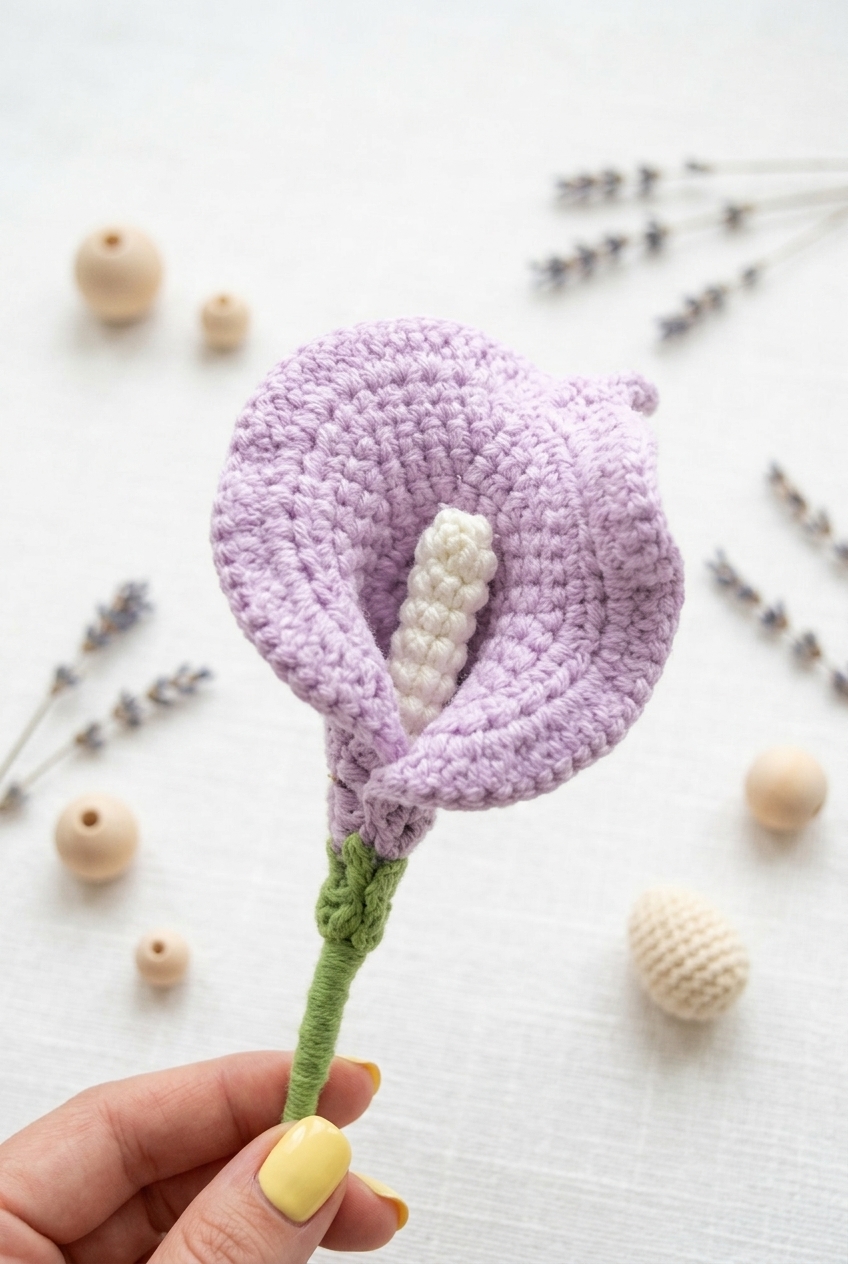
I wanted this one to look like an actual calla lily, not just a generic “flower shape,” so the petal has that curved, funnel vibe that sort of hugs the center. The version you see here has a lavender-purple petal with a soft inward curl at the edge, and that curl really frames the bumpy white spadix in the middle.
The stem is green and wrapped-looking, with a small green band right at the base of the bloom so it feels finished and intentional. Overall it’s dense and textured, the kind of piece that looks a little fancy sitting on a shelf even though it’s still a Level 2 easy make (so you’re not signing up for a whole saga).
What Makes This Pattern Special
A single bloom that looks sculpted, without complicated steps.
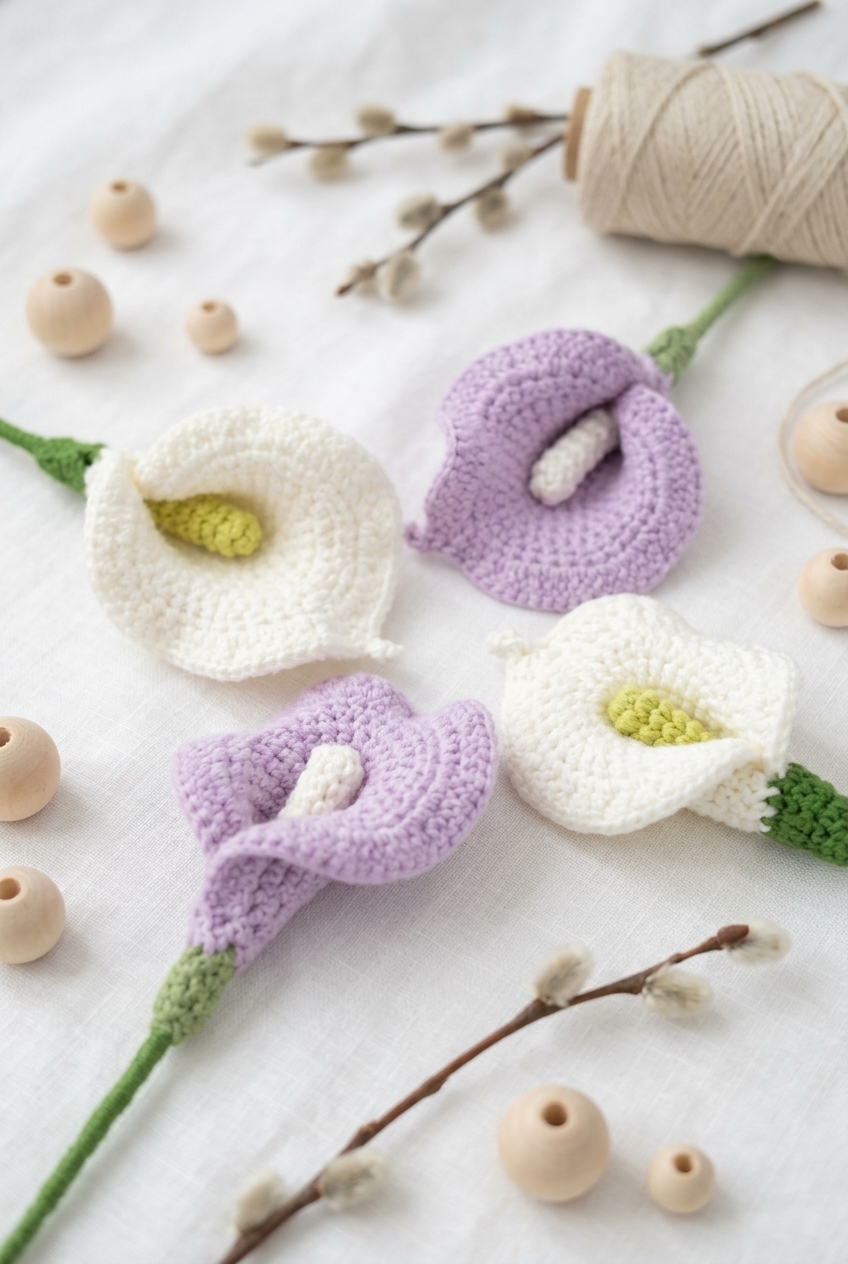
- Realistic silhouette: The curled petal forms that classic calla lily funnel around the center.
- Great texture up close: Dense stitches and a bumpy white spadix keep it from looking flat.
- Clean, finished stem: The wrapped green stem and base band make it look polished in a vase.
Gather Your Supplies
You’ll use tiny amounts of three colors plus a stem rod and wire, since this flower is built to hold its shape.
- 1 Super Fine / Fingering (4-ply) combed cotton yarn: For this project I reach for fingering weight combed cotton because it makes crisp petals that don’t look puffy or fuzzy. Combed cotton also gives you clean stitch definition, so the flower looks neat even with small stitches. Yardage isn’t stated, but you’ll want small amounts of white for the main flower, green for the stem wrapping or base accents, and a little purple if you want that extra pop.
- 2.5 mm hook: This size keeps the fabric firm with fingering cotton, so the petals hold their shape and the stitches look tidy.
- Flower rod: 30 cm long (No. 2): This is the main support for the stem, and it keeps the finished flower standing straight instead of flopping around.
- No. 2 floral wire: I like having this on hand to reinforce the stem or position parts the way you want, especially if you’re shaping the flower for a display.
- Hot melt adhesive: This is handy for securing the crocheted pieces to the rod and wire quickly, and it holds up well for a decorative flower.
- Thread: I use thread for any tight wrapping or small, discreet tacking where yarn would look bulky.
- Also needed: stitch marker, scissors
Color Sequence & Yarn Changes
Work the white flower pieces first, then switch to green for the stem wrapping and any base accents. If you’re adding purple, use it as a small accent so you’re not juggling extra yarn for long stretches.
Essential Info
This is the quick-reference stuff you’ll want before you start.
| Skill Level | Level 2 — Easy |
| Pattern Gauge | Gauge is not critical for this project. Use a hook size that creates a neat fabric; work the center tightly for a firm cylinder and maintain consistent tension for a smooth petal shape. |
| Finished Size | Stem/flower rod: 30 cm long (No. 2) |
| Yarn Weight | 1 Super Fine / Fingering (4-ply) |
| Fiber | Combed cotton |
| Terminology | US |
Stitches & Abbreviations
Keep this list open while you crochet.
- ch = chain
- sc = single crochet
- hdc = half double crochet
- dc = double crochet
- tr = treble crochet
- inc = increase (2 stitches in same stitch)
- sl st = slip stitch
- sk = skip
- st(s) = stitch(es)
- MR = magic ring
- tog = together
Special Stitches
- Picot (ch-4 picot): ch 4, sl st in 2nd ch from hook, sl st in next ch, sl st in next ch.
Pattern Notes
Maintain consistent tension throughout the flower petal rounds to ensure a smooth, symmetrical trumpet shape. When crocheting the center (spadix), work tightly to create a firm, cylindrical shape. For a more realistic look, use a slightly larger hook size for the main flower petal compared to the center and base. When wrapping the stem, make several back-and-forth wraps at the 2 cm mark to create a more natural transition between the stem and the flower base. The flower parts are worked in the round, then assembled, so keep an eye on stitch placement and don’t let your joins drift.
Step-by-Step Instructions
Work the three pieces in order, then you’ll glue and wrap everything onto floral wire in the finishing steps.
Flower (Make 1)
This is the main flower piece, worked in joined rounds with slip stitches and turning chains. Keep your joins tidy since they’ll stack in the same area round to round.
Round 1: MR, ch 1, 10 sc in MR, tighten ring, sl st, ch 2. [10] Tighten the ring firmly before you slip stitch so the center doesn’t loosen later.
Round 2: 2 dc in each st around, sl st, ch 1. [20] The ch 1 is your setup for the next round, not a stitch to work into unless you normally count chains that way (this pattern doesn’t).
Round 3: (3 sc, inc) 2 times, (sc, inc) 2 times, (3 sc, inc) 2 times, sl st, ch 1. [26] This round shifts the increase spacing. Use a stitch marker in the first stitch after the join if you tend to lose your place.
Round 4: (4 sc, inc) 2 times, (2 sc, inc) 2 times, (4 sc, inc) 2 times, sl st, ch 1. [32]
Round 5: 5 sc, inc, (2 sc, inc) 2 times, (3 sc, inc) 2 times, (2 sc, inc) 2 times, 5 sc, inc, sl st, ch 2. [40] Make sure you don’t accidentally skip that final “5 sc, inc” segment. It’s easy to stop early right before the slip stitch.
Round 6: 6 hdc, inc, (3 hdc, inc) 2 times, (4 hdc, inc) 2 times, (3 hdc, inc) 2 times, 7 hdc, sl st, ch 2. [48] You’re switching to hdc here, so watch your tension if your hdc runs taller than your sc.
Round 7: 7 dc, 16 inc, tr, (ch 4 picot), tr, 16 inc, 7 dc, sl st. [80] When you work the (ch 4 picot), keep the chain snug so it doesn’t flop around while you’re handling the flower during assembly.
Fasten off, weave in ends
Flower Base (Make 1)
This small base is worked in rows and attaches directly onto the Flower. Insert hook into the 2nd stitch to the right of the slip stitch in the flower. That placement matters because it anchors the base where the join won’t fight you.
Row 1: ch 2, hdc, inc, 2 hdc, ch 2, turn. [5] The turning chain is part of the row instructions here, so work it exactly as written before you turn.
Row 2: sk 1, 4 hdc. [4] Don’t work into the skipped stitch even if it looks tempting. It’s there to shape the edge.
Fasten off, weave in ends
Flower Center (Make 1)
This center is a simple tube worked in joined rounds. You’ll use it to hold the floral wire, so leave yourself a usable tail at the end.
Round 1: MR, ch 1, 6 sc in MR, tighten ring, sl st, ch 1. [6] Pull the magic ring tight and keep the slip stitch snug so the wire doesn’t wiggle through the center later.
Round 2: Rounds 2-9: 6 sc, sl st, ch 1. [6] Count your rounds as you go. It’s easy to lose track when every round is identical.
Round 10: 6 sc, sl st. [6]
Fasten off, leave a tail for securing to wire if needed
Finishing & Assembly
Take a No. 2 floral wire and insert it into the flower center. Wrap it with thread. Start the wrap right where the wire enters the crocheted center so the center can’t slide up and down. Keep the wraps close together. Position the wrapped wire under the flower and secure it with glue. Put the glue on the wrapped thread area, not on bare wire, so it grabs. Apply glue to fix the flower to the stem. Hold it in place for a moment until it sets enough to stop shifting. Wrap thread around the stem, and secure the end with glue. This last wrap is doing a lot of work, so don’t skimp on tension, and bury the thread end into the wraps before you glue so it can’t pop loose later.
Frequently Asked Questions
You can, but it changes the whole vibe. I use a 2.5 mm hook to keep the Calla Lily looking neat and crisp at the 30 cm stem length. If you go bigger, expect a looser fabric and a larger flower and stem, so you might need to adjust your expectations on size.
Fingering weight is what I use because it gives a delicate, home-decor look and keeps the proportions right. If you swap yarn weights, the finished lily won’t land at the same size. It can still work, just don’t chase the 30 cm measurement like it’s a rule.
First thing I look at is yarn weight and hook size, because those two decide most of the length. I also measure the rod length itself, not just the flower, since the finished dimension is for the stem/flower rod as a whole. Sometimes I’m just holding the tape wrong, so there’s that.
Level 2 easy is where I’d put it too. The small 2.5 mm hook can feel fiddly at first, so I slow down and keep my stitches relaxed but consistent. Once your hands settle in, it’s pretty straightforward.
Yes. I treat 30 cm as a nice default for a home-decor stem, but you can scale it by adjusting the length of the stem/flower rod to whatever you want. Just keep your yarn and hook choice in mind, because those will also push the size around.
Happy Crocheting
If you make this Calla Lily Crochet Pattern, I’d love to see how yours turns out, especially if you tweak the length or play with scale using a different yarn. Save it to Pinterest if you’re the kind of person who forgets where you found things (I am). And if you run into a weird sizing moment with the 30 cm stem, drop a comment and tell me what hook and yarn you used so I can actually help instead of guessing.